EG324 CE FCC Certification Approved
March 23, 2023
How to connect Elastel Gateway to Ignition SCADA via SparkPlugB
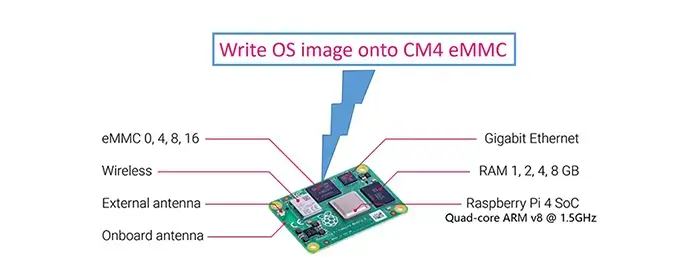
January 10, 2025This blog shows how to mount the Raspberry Pi Compute Module 4 (CM4) eMMC storage on another computer (in my case is a Windows PC), and then re-flash a new OS image to it.
The Raspberry Pi CM4 manily comes in two versions: one with built-in eMMC storage, another one is CM4 Lite without eMMC. Below diagram shows the difference. This instruction is mainly for eMMC version.
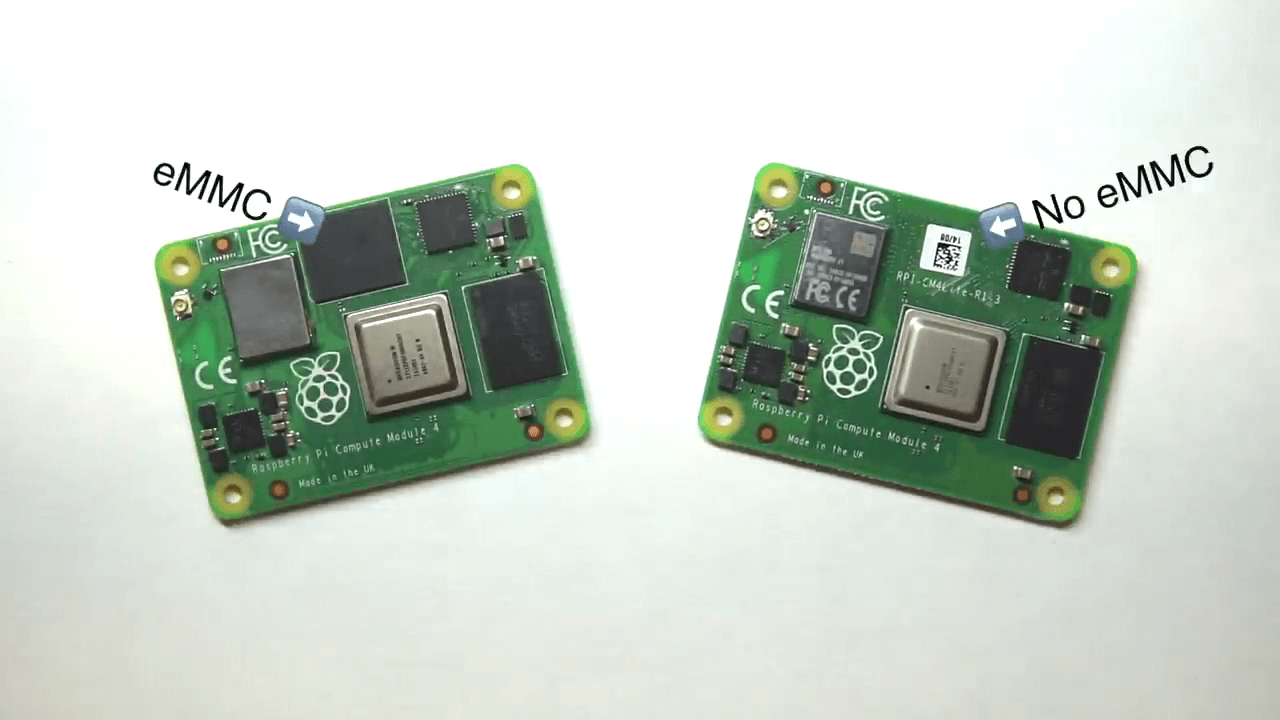
The operation on built-in eMMC version CM4 is just the same as you would a microSD card, but you need to make the eMMC storage mountable on another computer first.
For mount the eMMC, you need a CM4 carrier board that has ability to disable eMMC boot and boot the pi via rpiboot over USB. The Raspberry Pi official Compute Module 4 IO board is recommended.
To flash Raspberry Pi OS onto the Compute Module 4 eMMC, follow these specific instructions:
Requirements:
- Raspberry Pi Compute Module 4 (CM4) with eMMC module.
- Raspberry Pi CM4 IO board.
- A computer with Internet connection.
- A micro USB to USB-A cable (for connecting the Compute Module to your computer).
- The necessary software tools (rpiboot software, SDformat software, Win32DiskImager software) and image OS for CM4.
Note, you can download the software tools from above links, and ask Elastel support team share the corresponding image OS if you are reflashing image CM4 for working on Elastel industrial Raspberry Pi EG500 or EG410.
Step 1: Install the CM4 on IO board
1. Install your CM4 onto a Raspberry Pi CM4 IO carrier board.
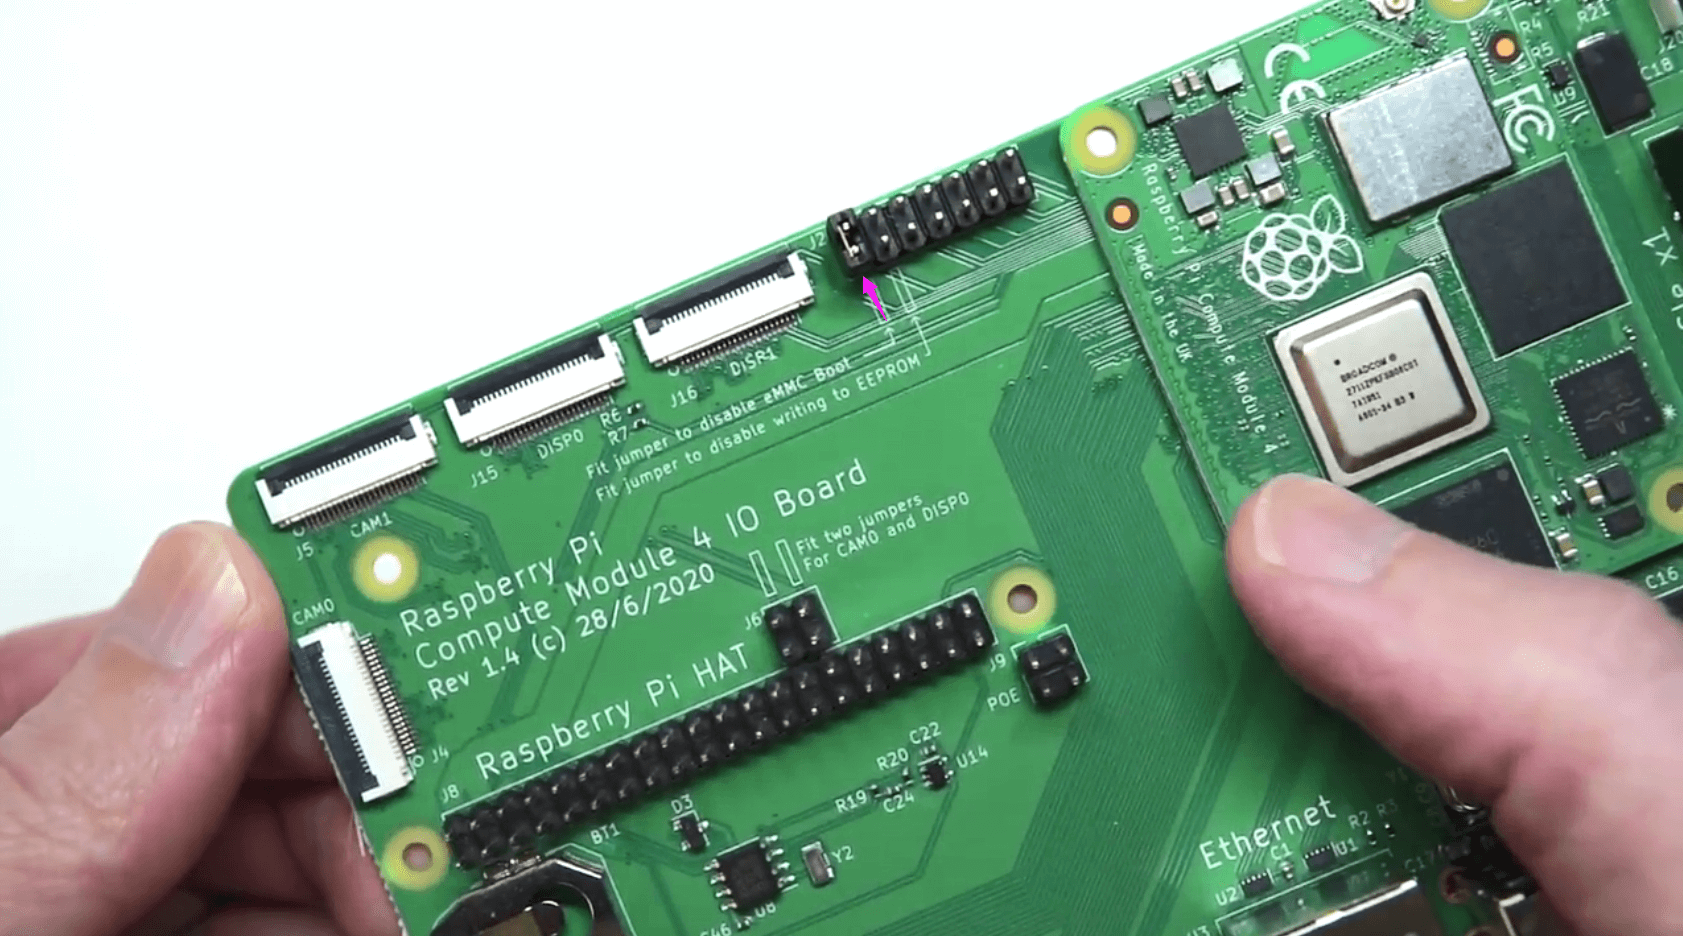
2. Disable eMMC boot by puting a jumper over the first two pins on J2, the eMMC storage will be set into ‘USB mass storage’ mode.
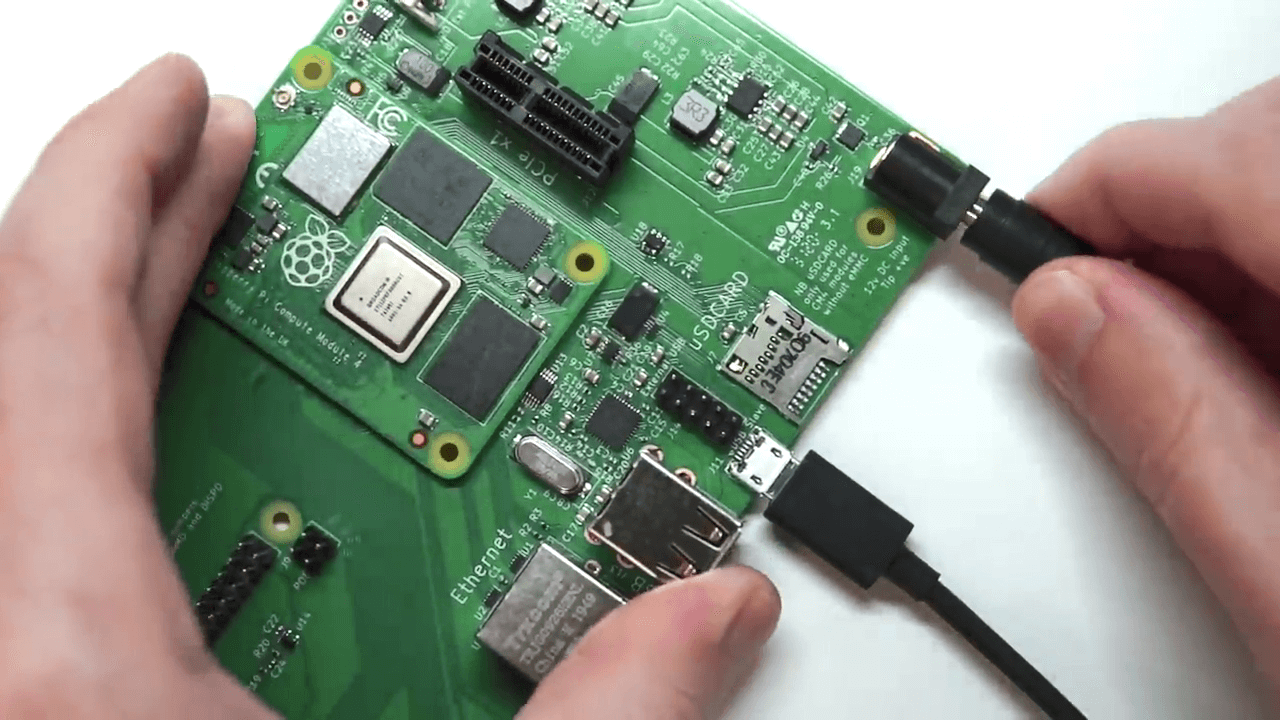
3. Connect the carrier board (with CM4) to your PC using a micro USB to USB-A cable.
4. Plug in power to power on the IO board.
Step 2: Using rpiboot to mount the eMMC storage on your PC
1. Download and install the rpiboot software with administrator authority on your Windows PC.
Note, if you are using a MAC or Linux computer, you will need to install a usb library and build the rpiboot executable.
2. After complete the rpiboot installation, open it with the step1 CM4 plugged and powered. the CM4 will be recognized and loaded.
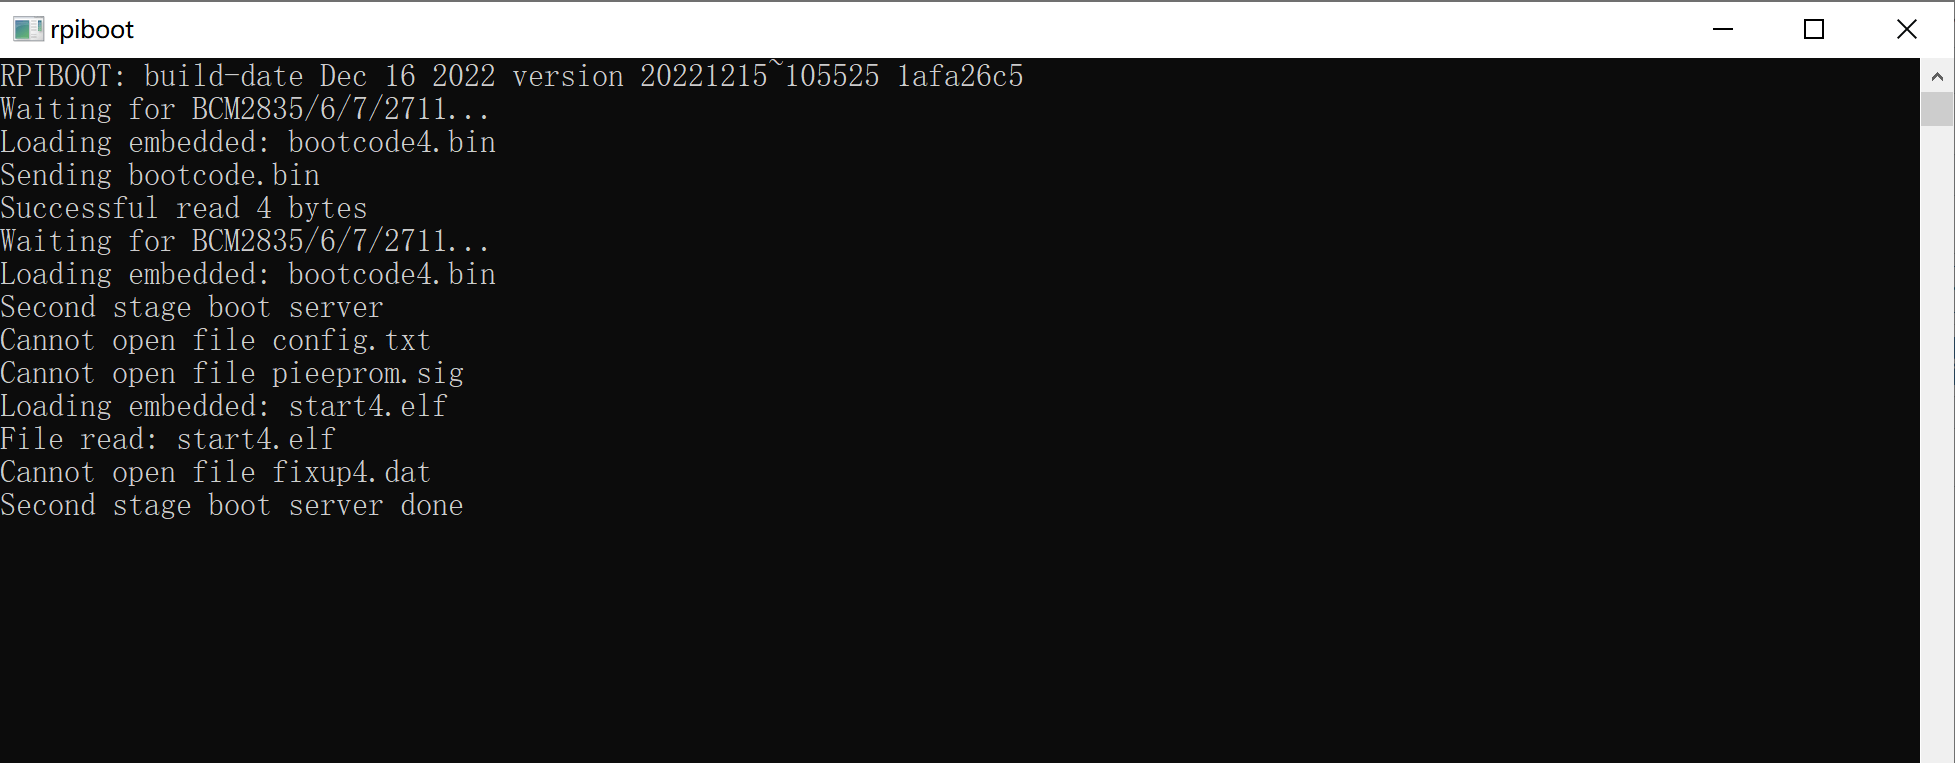
3. You should see the eMMC popup in Windows as an USB mass storage device.
Note, you might also notice the D2 LED lighting up on I/O board, which means it’s able to read/write operation on eMMC.
Step 3: Flash OS image onto the eMMC from your PC
Now the eMMC storage behaves just like a microSD card or USB drive that you plugged into your PC. Format it and then write a new image on it.
1. Format the CM4 eMMC (the portable disk) by SDFormatter software
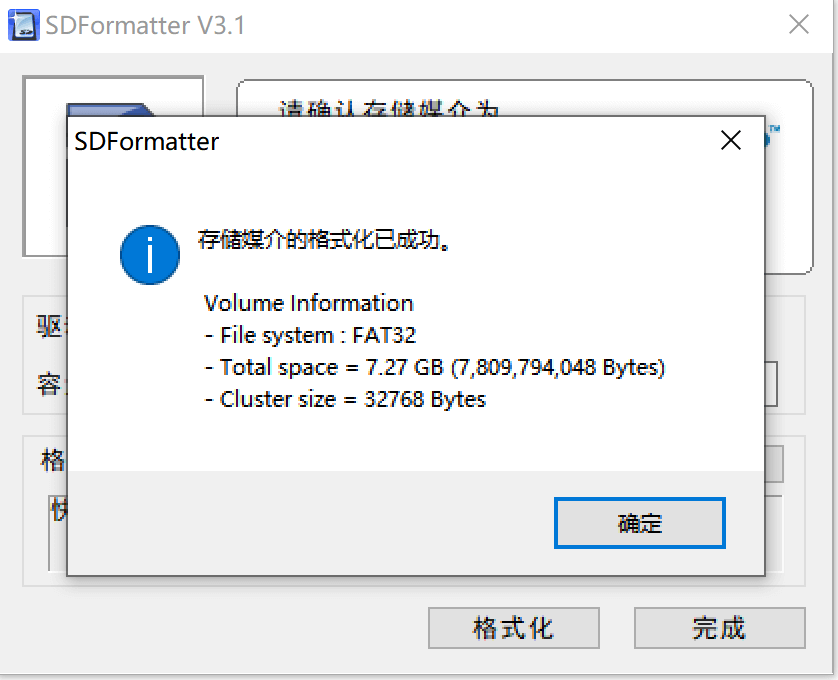
2. Write the image OS to the CM4 by Win32DiskImager.exe software, Choose the image file and click “Write” to start.
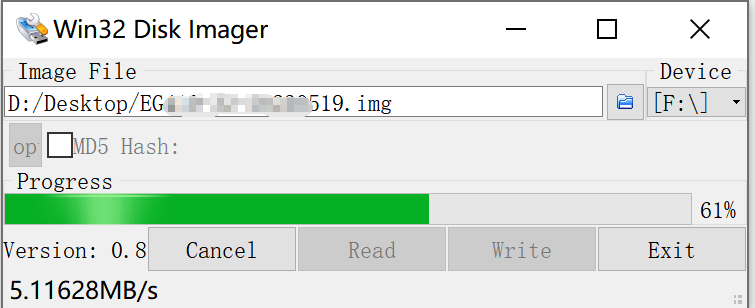
3. Once the write process is complete (Note, It may prompt you to format the CM4 again after writing, just ignore it).
You could disconnect the IO board power and USB cable connection, plug out the CM4 from IO board.
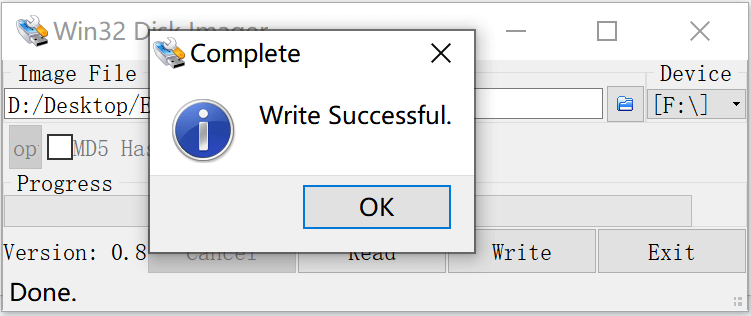
Now the CM4 has finished the new image OS re-flash on eMMC operation, and ready for setting up and developing your specific IoT applications on EG500 and EG410 carrier board.

